Wednesday, October 26, 2011

Captions!


We learned the art of photo captioning in photojournalism this past week and took the lesson to use, going round the school taking pictures of various activities. Here is my favorite of the examples, I just like the movement. Also Kaitlyn Plasters is awesome, but that's neither here nor there. 


Moves like Plasters Practicing their step-and-drag move, senior Kaitlyn Plasters leads the dance as the class learns a sequence to Maroon 5’s “Moves Like Jagger.” The dance class learned one dance every two weeks and test time was about to draw near. “I really have a passion for dancing. Some say I’m a natural at it,” Plasters said. Photo credit Erin Powers.


Wednesday, October 12, 2011

Top Ten Tips 4-10

1. Move it from the Middle!
the typical stylings of the Rule of Thirds, nudging the camera a little to the side to make the subject of the picture not smack dab in the middle, ideally on the corners of the grid- the imaginary grid- to add interest.
2. Be a director!
Direct the people in your photo so that they arranged in a way that is pleasing to the eye

3. Watch the light
Shadows on the subject's face can often be distracting from the picture. So always know where the sun is and try not to get many facial shadows
a bad example of watching the lighting would be 

The last tip is just to know how far your camera's flash range is. Mine personally has a range of 10 feet. If the subject is farther away than 10 feet in a picture with flash, then it will be too dark to be a good photo.

Wednesday, October 5, 2011

Pops of Color

A really interesting technique in photojournalism is having everything in the photo black in white except for the subject, or really anything with interesting color. In Photoshop, the way to do this is to drag the photo you want into the Photoshop icon (as per usual) then drag the photo down into the layers bar so that there are multiple layers. Then to change the top layer to black and white, go to Image -> Adjustment -> Hues/Saturation, and make both the hue and the saturation zero. From there, using the eraser tool, erase all areas of the photo that are to be colorful, and finally click Image -> Flatten to flatten the picture into one layer. 

Wednesday, September 28, 2011

Top 10 Tips: 4-6

Today we learned three more tips from Kodak's top ten tips list of photography techniques. These were
- Move in Close (Fill the frame) - Photographers often use this technique when wanting to exude a more artsy quality of photograph, or just to make it more interesting in general. This can be done in multiple ways, 1. take actual steps closer to the subject, preferably getting as close as possible and 2. using the zoom lens. There are actual lenses made for this specific technique called macro lenses, or one could set their camera on "flower" setting. Ex:


- Take Some Vertical Pictures!  - this tip is really as simple as remembering to occasionally take vertical pictures. Vertical angles can successfully capture things that horizontal photos sometimes can't, especially in photos featuring architecture, or things that are very tall such as trees and buildings. Ex:


Lock the Focus - This tip remedies the focus being off the subject, especially in photos following the rule of thirds. I actually have been using this technique on my own for quite a while, and it isn't as hard as it sounds. In order to do this, the photographer has to first focus their camera on the subject, then (while holding the shutter button halfway down in order to lock it) the photographer should move the camera so that the subject once again is following the rule of thirds, and take the picture. Ex:

Wednesday, September 21, 2011

Top 10 Tips: 1-3

Top 10 Tips at improving photos
1. Get down on the subject's eye level - instead of shooting at an awkward angel, shoot so that you can capture the subject's eyes. Their eye don't necessarily have to lock with the camera, either, but being on that level adds and element of intimacy to the photo. For example,

2. Use a plain background - if the background is noisy or cluttered it can distract from the subject, so finding a plain background before shooting will improve the photo as a whole. For example,

3. Use flash outdoors - Occasionally outdoors, using flash can be very helpful. Such situations include when the subject is in a shadow, if the subject is back lit, or if it is a cloudy day. Then you have to consider if the flash will reach far enough to capture the subject. Shadows to avoid include those around the eyes and nose. An example of flash when the subject is backlit :


Monday, September 19, 2011

My Stroll Through the School

Last Thursday the photojournalism class walked the halls of Memorial, snapping away. We tried to integrate some of the new photography techniques we'd learned in the days before hand. These said techniques include the following:

Composition Techniques
- Angels- a way to increase the level of interest in a photo is to add an element of angel and perspective. These include worms eye view (shooting up as if from the ground, or any vantage point that is lower than the subject) and bird's eye view (self explanatory, shot from above.)
- The Rule of Thirds- The Rule of Thirds is a simple and effective way of improving a photo. Instead of having the subject of the photo smack dab in the middle, the Rule of Thirds involves having the main elements of a photo on the focal points of a grid. This can be achieved by slightly moving the camera itself to the left or right.
Leading Lines- real or implied lines that lead the viewer's eye through the photo
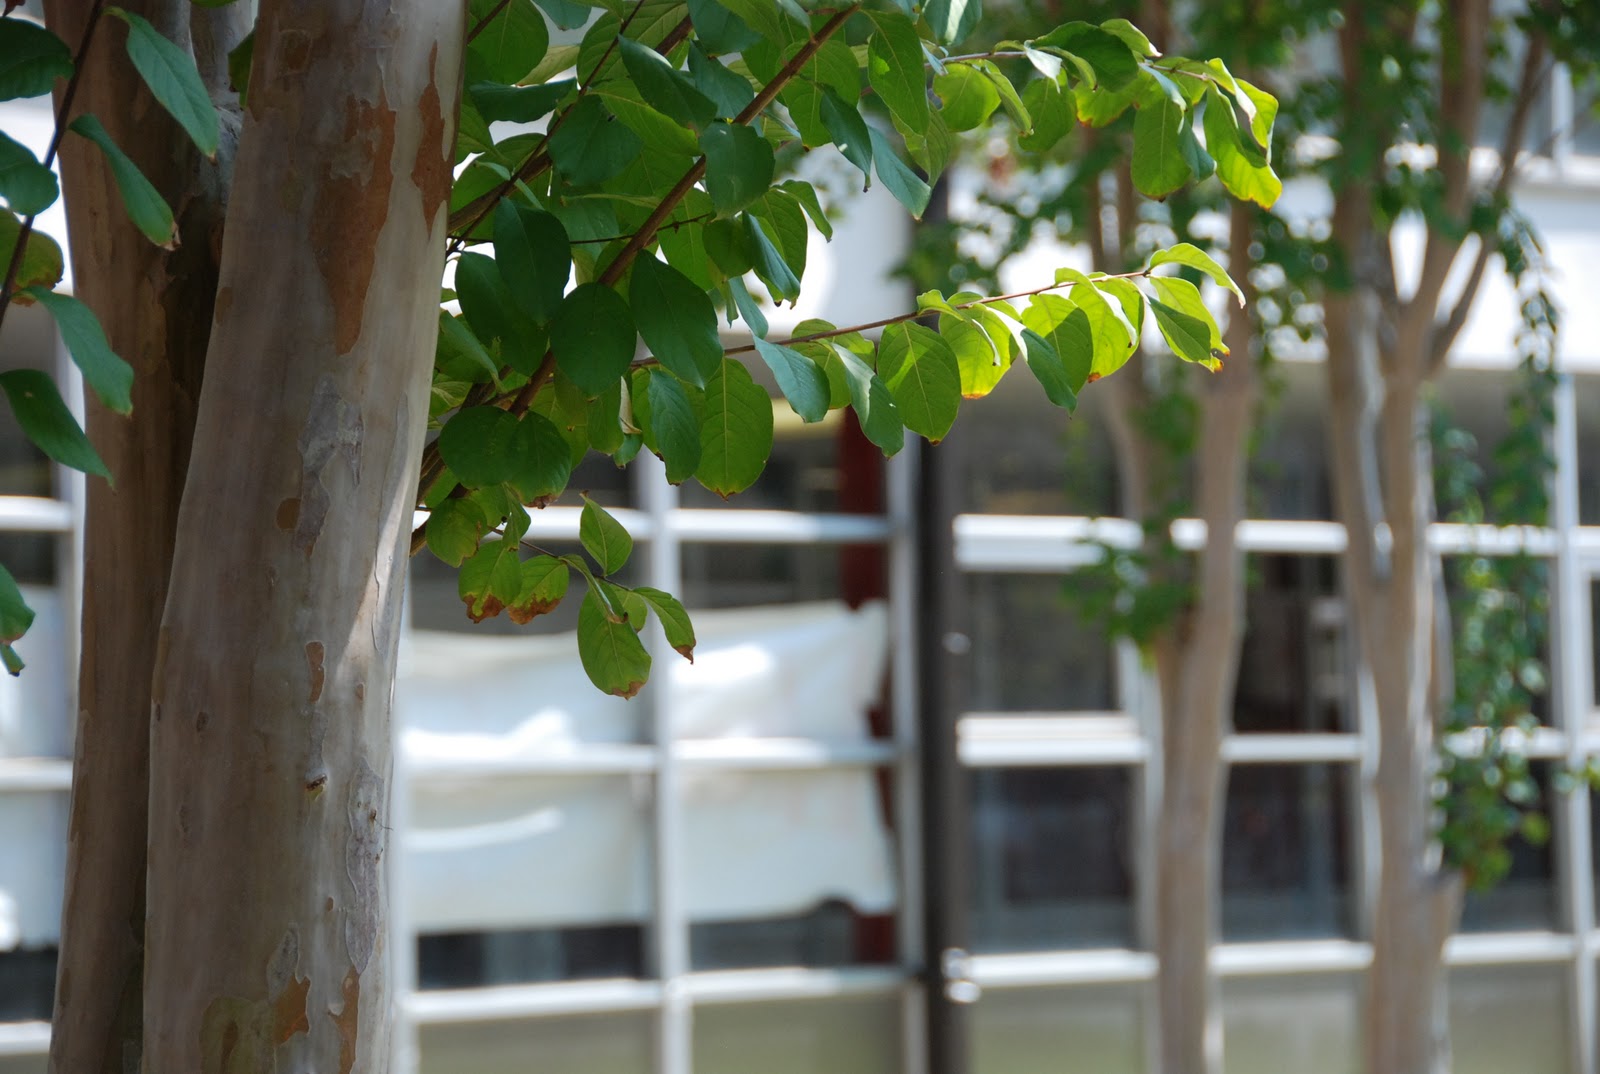
Framing- using a secondary element to highlight of emphasize the subject.
Appropriate Focus- the subject of the photo is in focus but distracting or non-essential elements are not.

I tried to involve these techniques as best possible during my photowalk. I went to the library, the Green Wing, Mr. Bile's own classroom, the Grey Wing, the cafeteria area, and the Red Wing. I experimented with bird's eye view by climbing on a bench and shooting downward on another geometrical table, utilized leading lines with the handy abundance of lockers, and in the library tried appropriate focus by focusing my photo solely on a globe.

This is the globe picture from the library. I like it not only because of the focus but also because of the depth of field.
I chose this as another favorite because I love not only the leading lines, but also the framing of the girl at her locker, and the color contrast between the red and the blue.

This locker picture uses the Rule of Thirds, with one locker opened slightly to the right. I also like the pop of the red lock against the green lockers.


Tuesday, September 13, 2011

Three New Things!

    Three things I learned today among the throng of information includes first the impact of the Rule of Thirds. I actually have experience with photography and tend to subconsciously use this rule anyway, but knowing the exact technicalities of it (such as the grid view and where exactly the focus point of the picture should be positioned) is both interesting and helpful, and it really does make a difference. A second is remembering to have interesting angles and perspective. I think it's fun to think of new ways to present a photo, by way of tilting the camera, crouching, standing on a chair, and I tend to have a knack for that. Lastly I think the roots of words can be interesting, so learning that photo=light and graph=draw (in Greek) was just a nice tid bit.